
I made this up as I went along without any pattern or tutorial to follow. I must confess, I was rather proud of the end result. Like I said, I was intimidated and really didn't know if it would be a success or not when I started.

Materials:
1 1/2 yards of two different fabrics (front and back)
old set of bumpers to recover
about 1/4 yard of coordinating fabric to make ties
basic sewing supplies
Here's how I did it:
Step 1:
Measure the bumpers top to bottom, and add around two inches on the top and the bottom. It is better to have more than you need because you can always adjust it on the bottom. Most are 10 inches, but mine were a little taller. Measure the length of the bumpers (usually 160 inches).
Step 2:
Cut out strips to piece together for one side of the bumper. If you are using a pattern, cut carefully. You don't want crooked stripes!!
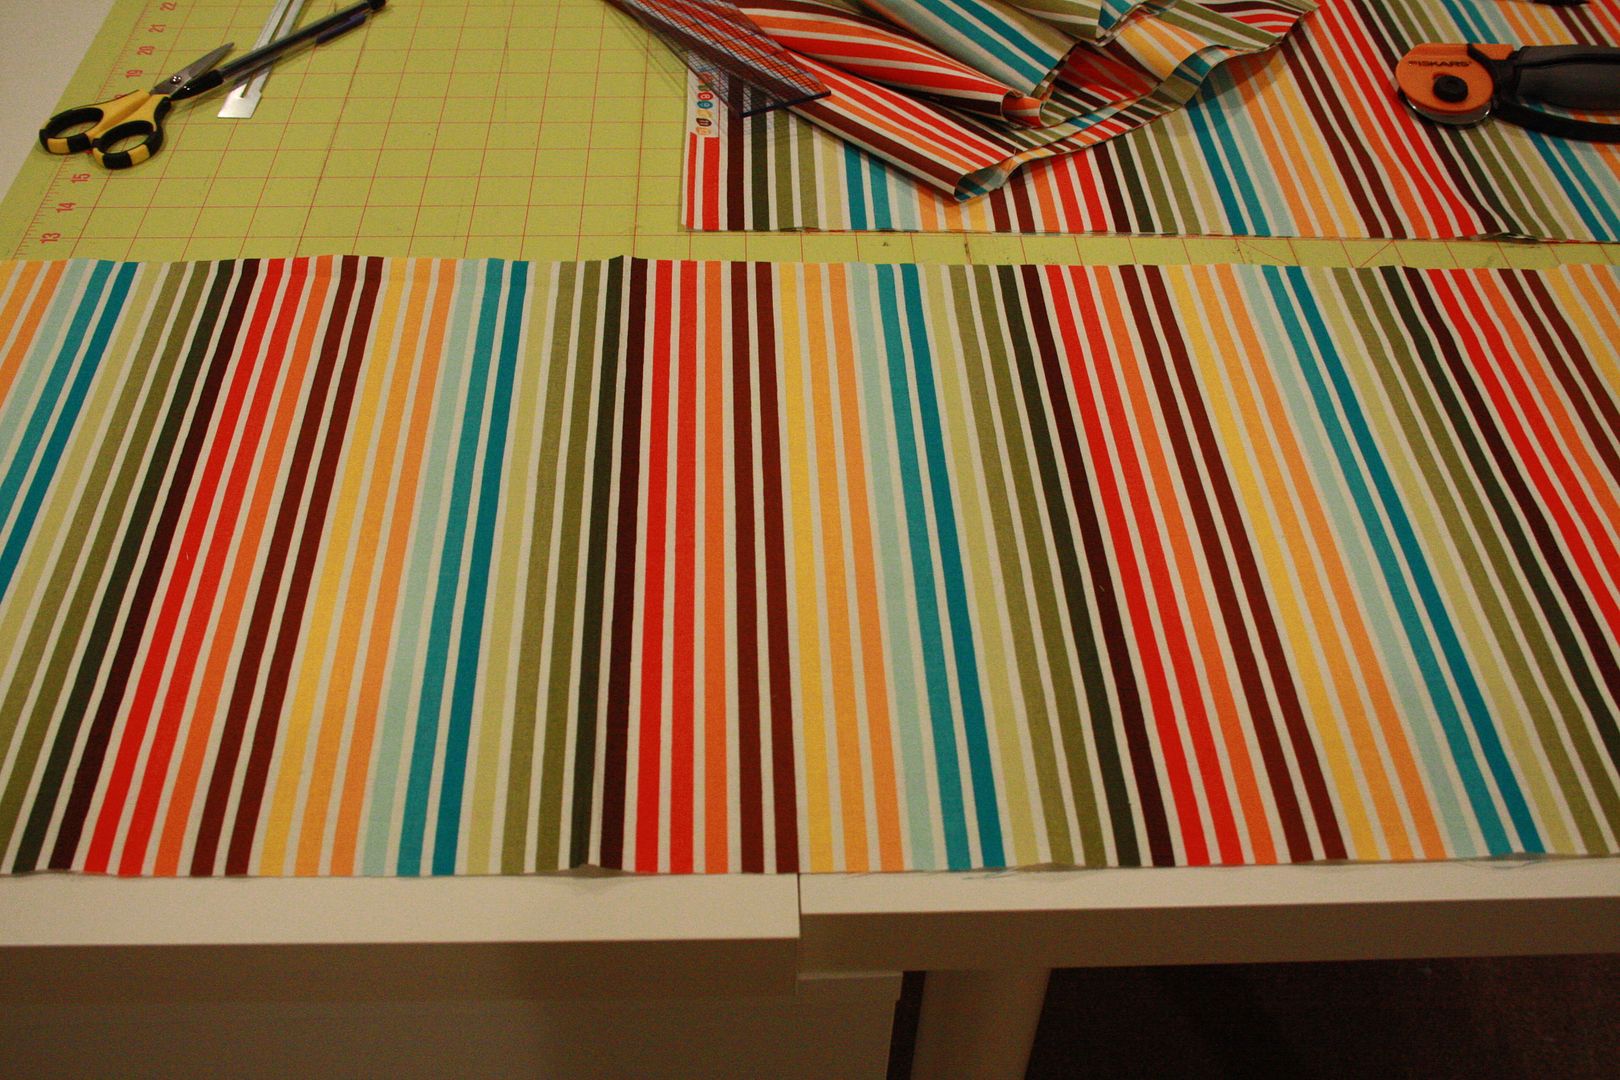
Step 3:
Sew pieces together. You will end up with a long piece like this...
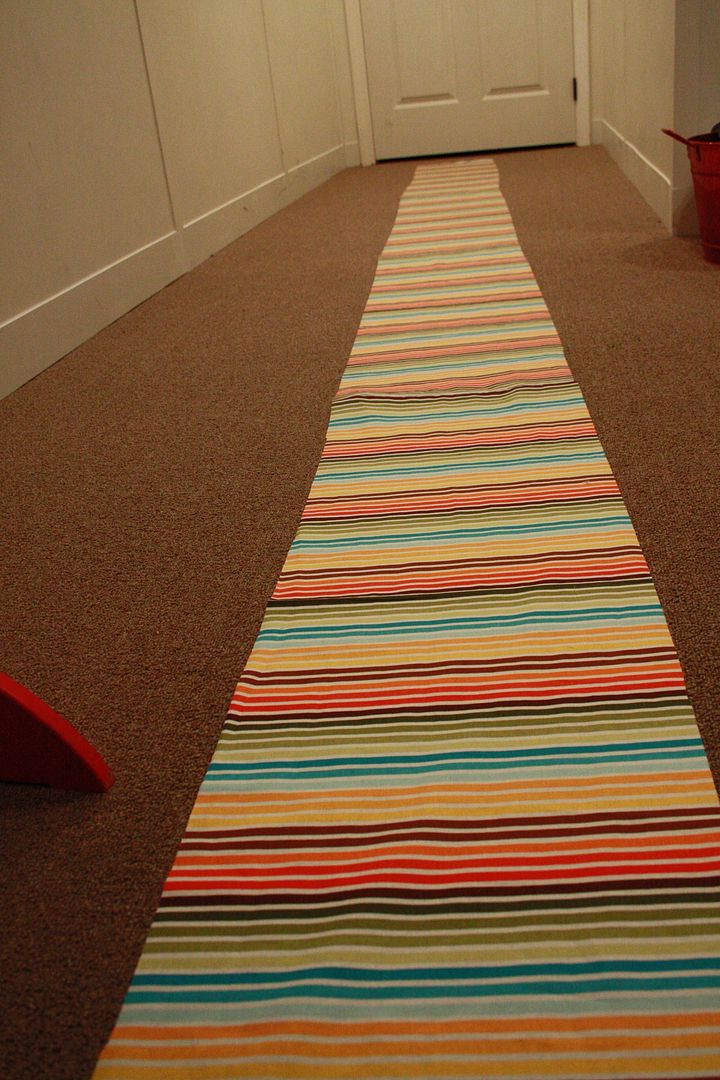
Step 4:
Repeat same process for the other side.
Step 5:
Iron seams open on both strips.
Step 6:
Place right sides to right sides and pin both strips together.
Step 7:
Sew two pieces together on one side.
Step 8:
Iron seams open.
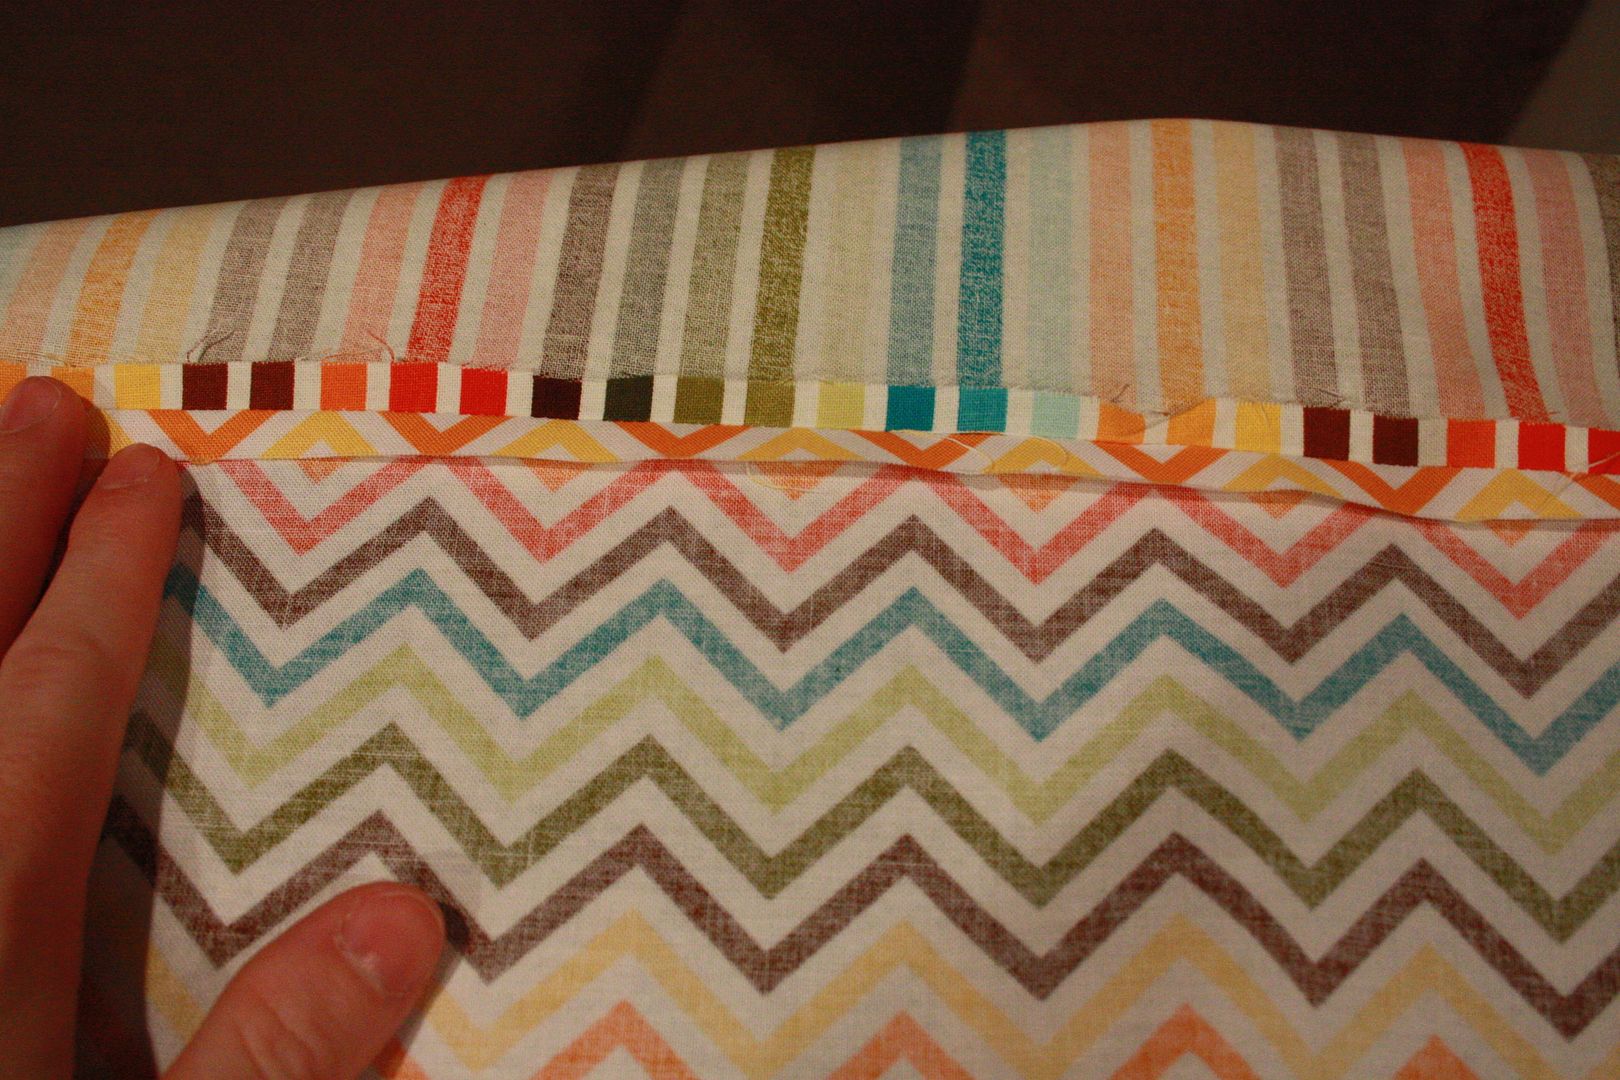
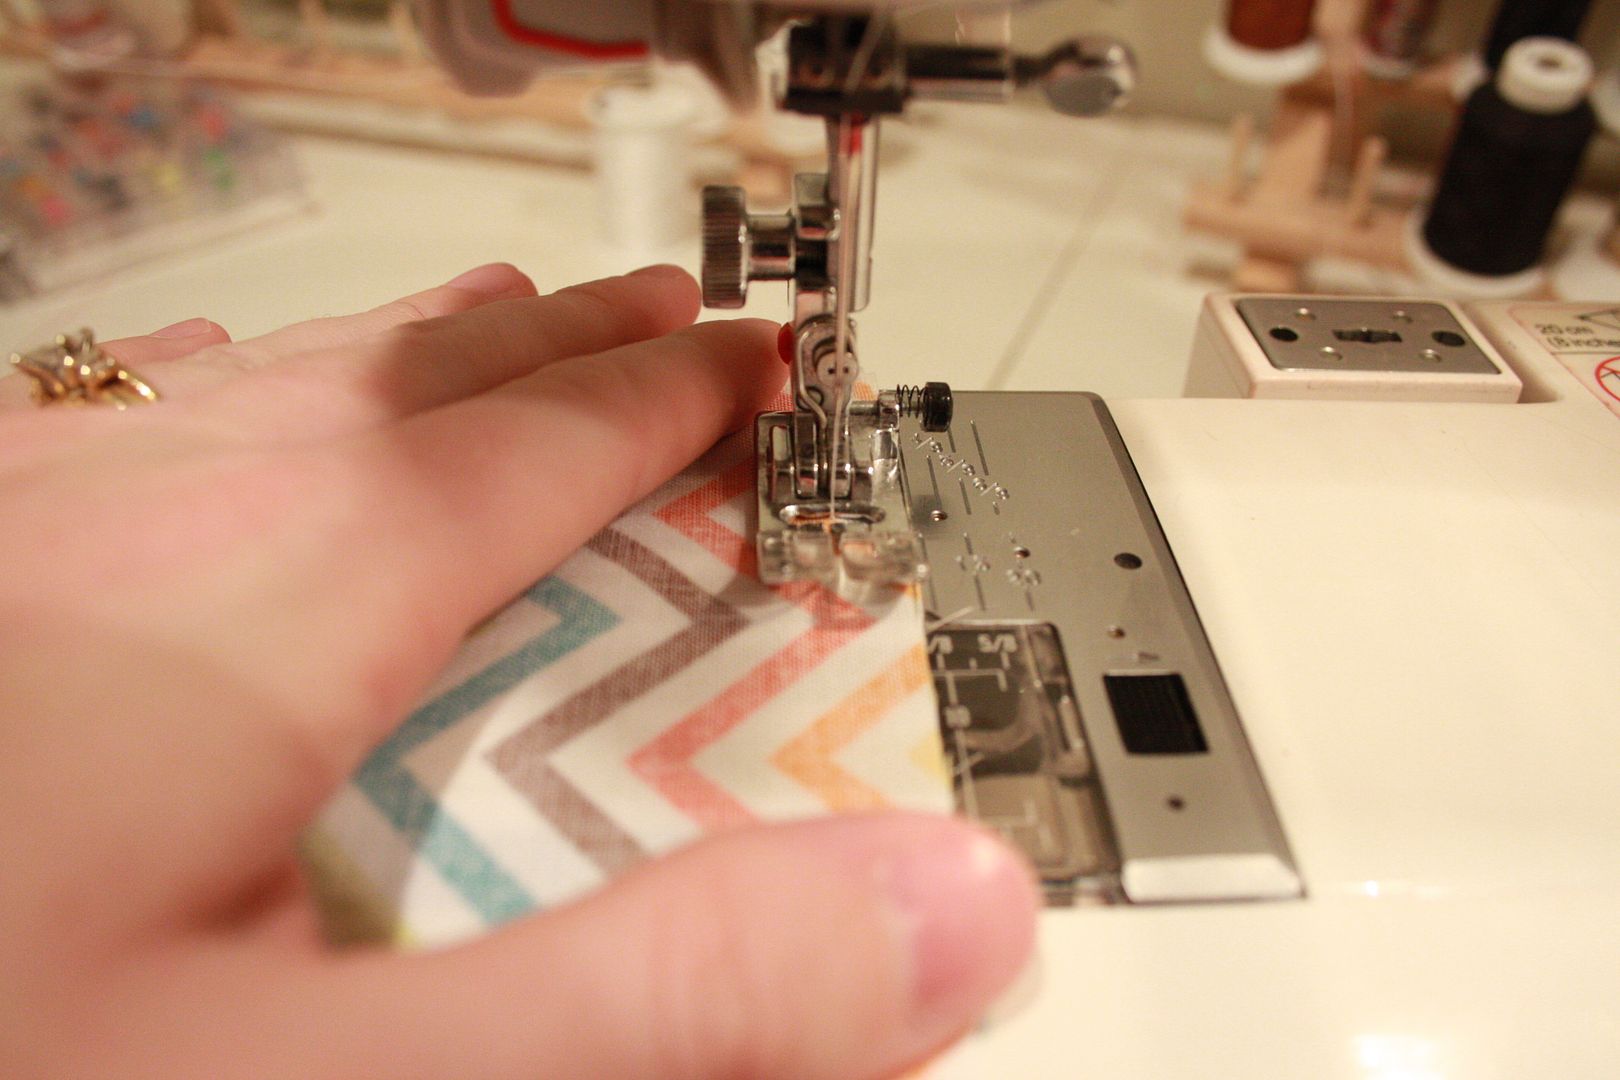
Step 9:
Open both pieces up and put wrong sides together. Stitch a topstitch all the way down the side you just sewed together. I chose to do this instead of messing with binding.

Step 10:
Insert bumpers to measure the bottom. Pin so you know where your bottom stitch line should be.

Step 11:
Iron one side under and measure where your top stitch will be along the bottom. I marked it all the way down.

Step 12:
Repeat on the other side, lining up with the other side. Fold under one end and sew together the end and the the bottom.

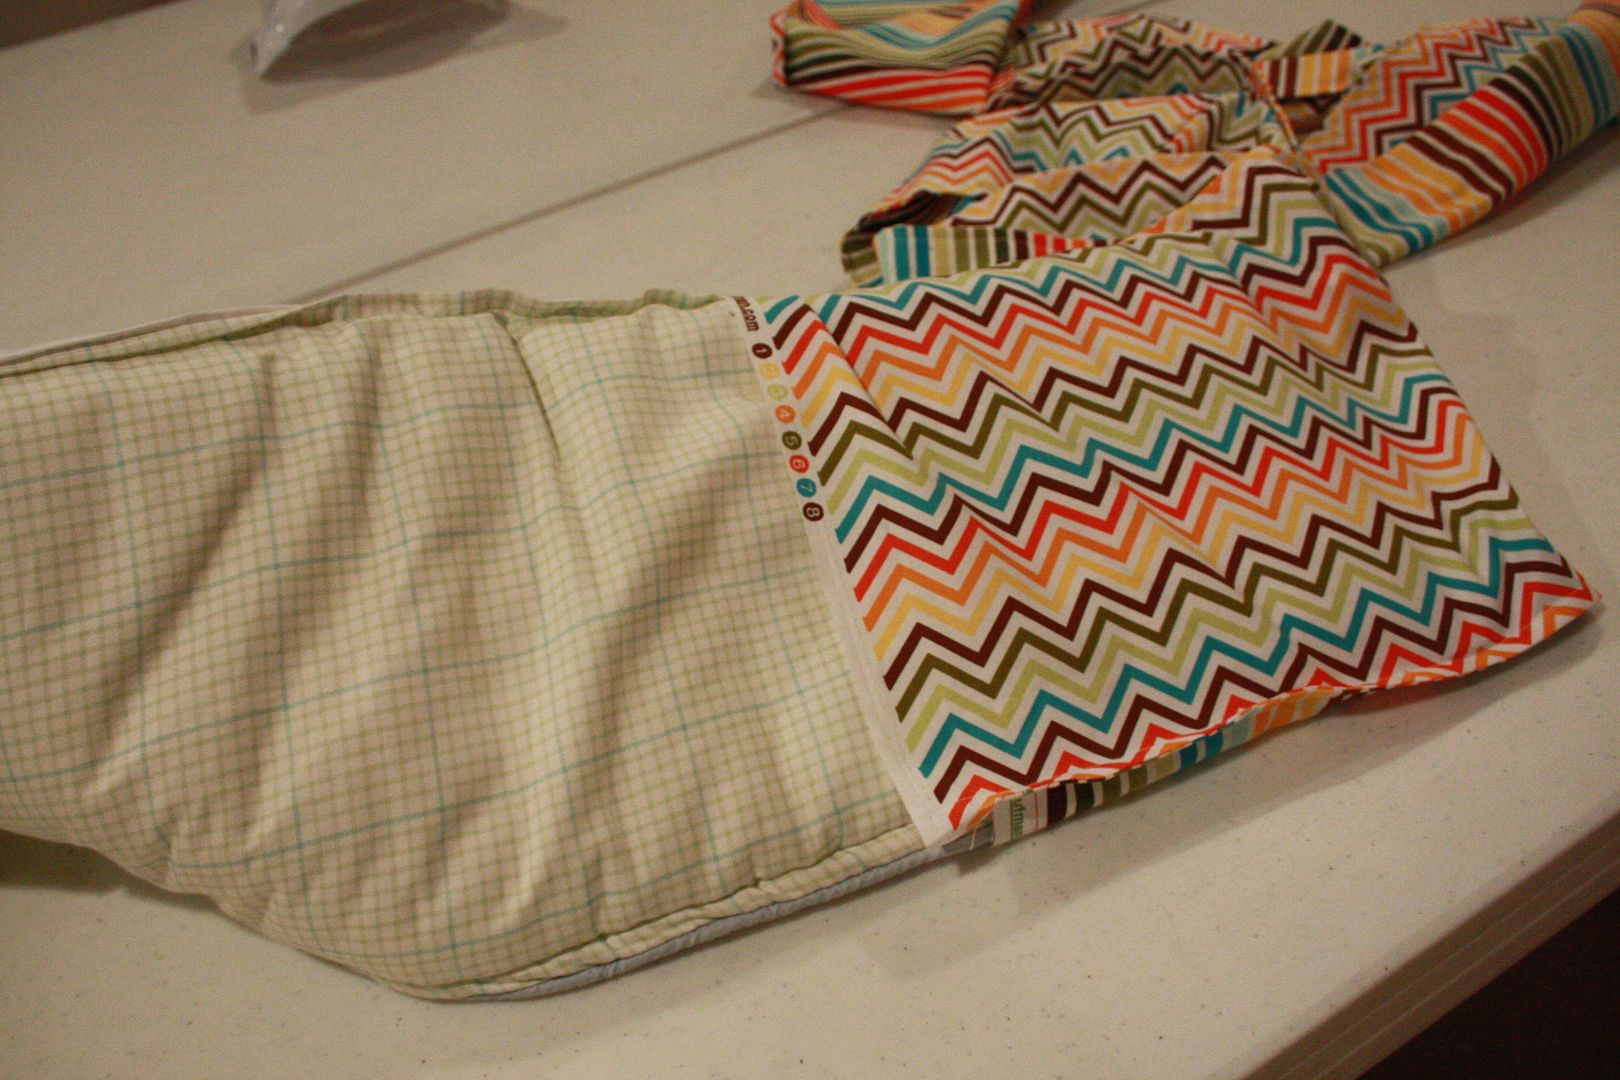
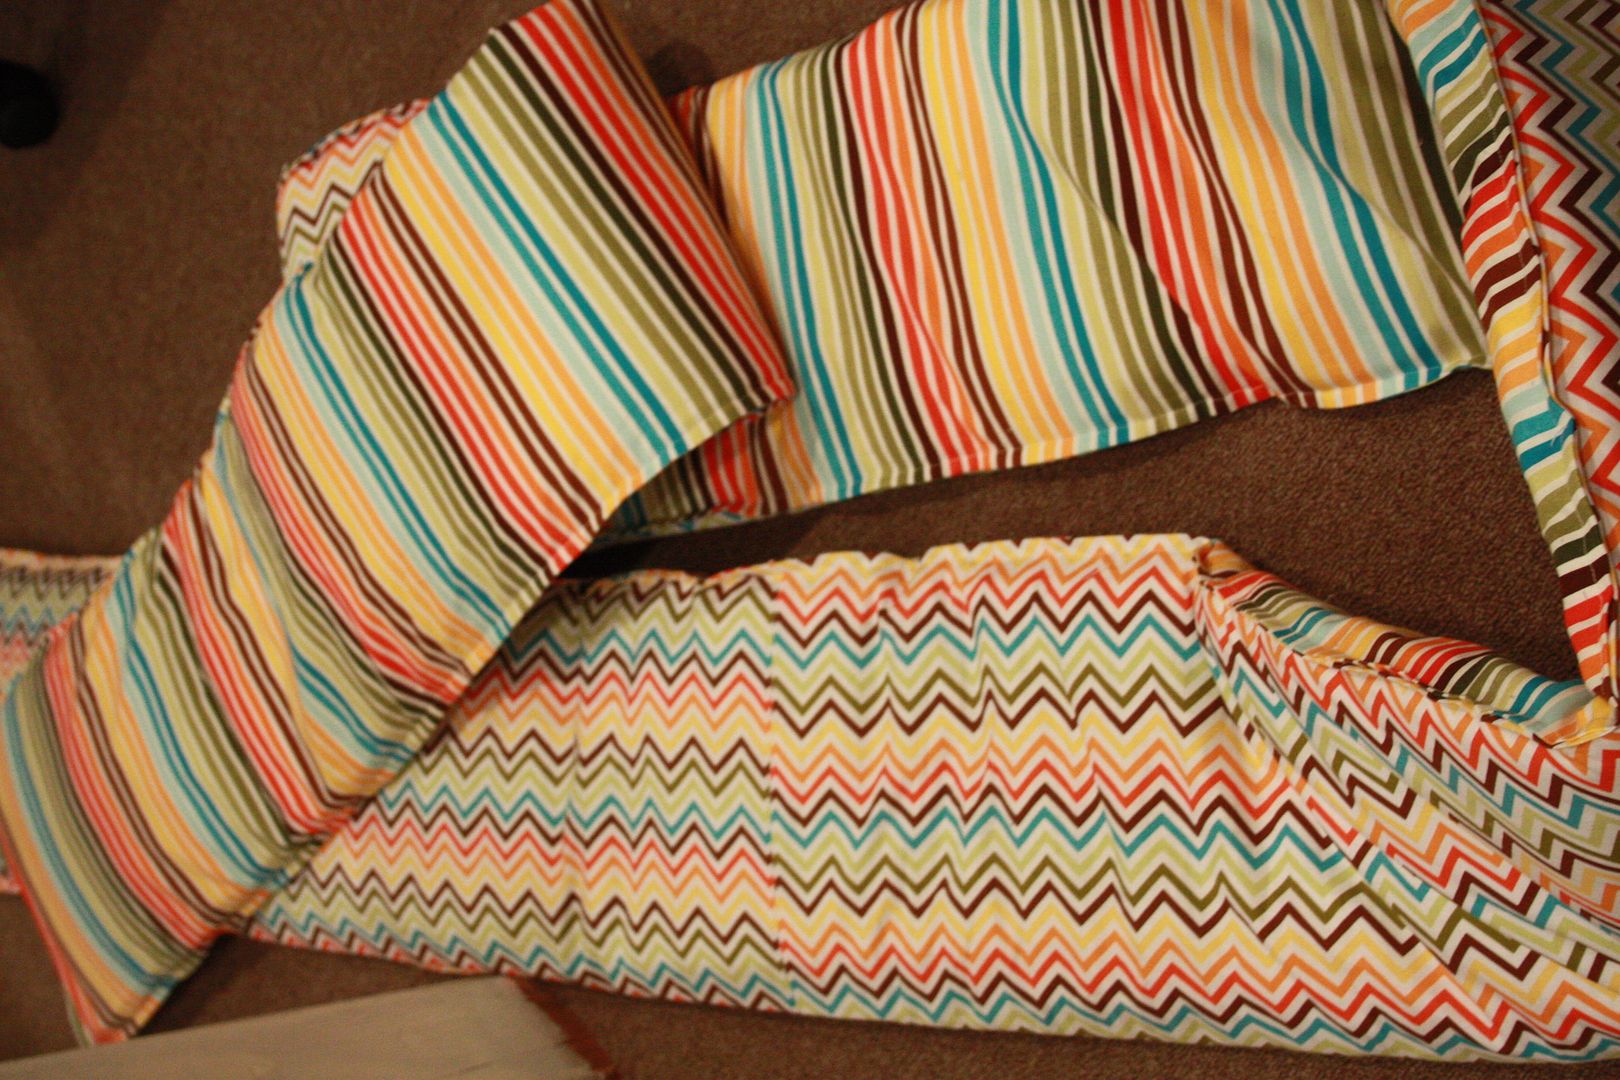
Step 13:
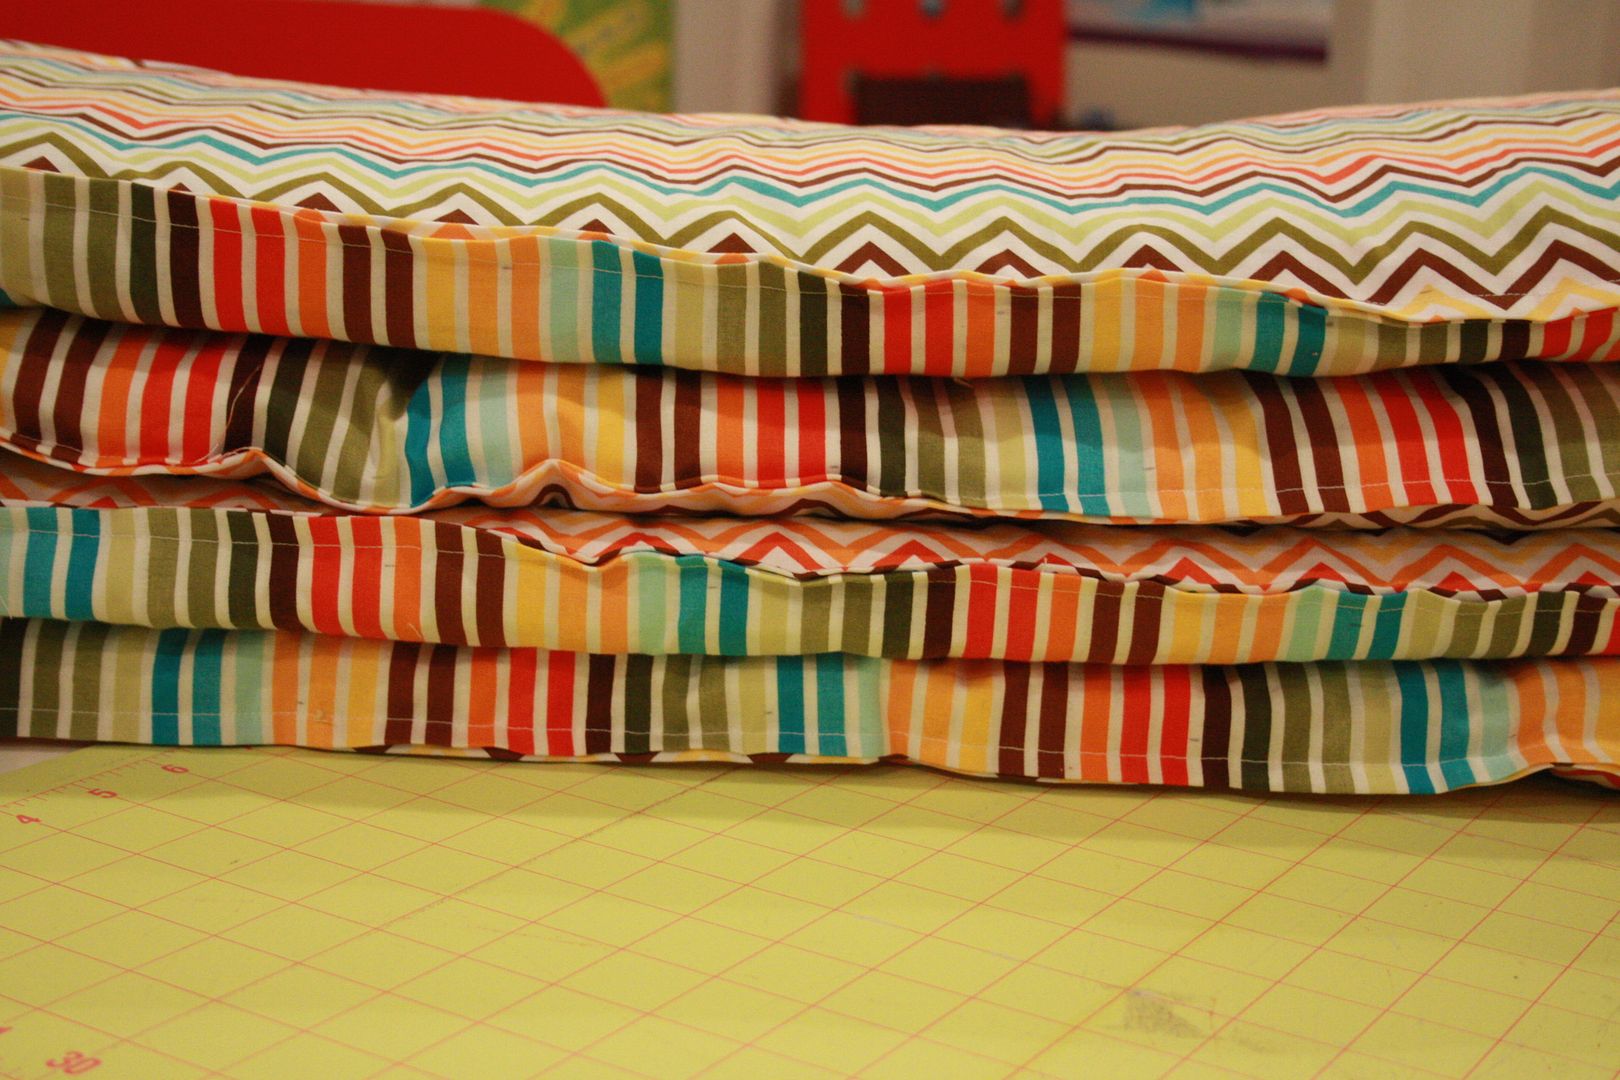
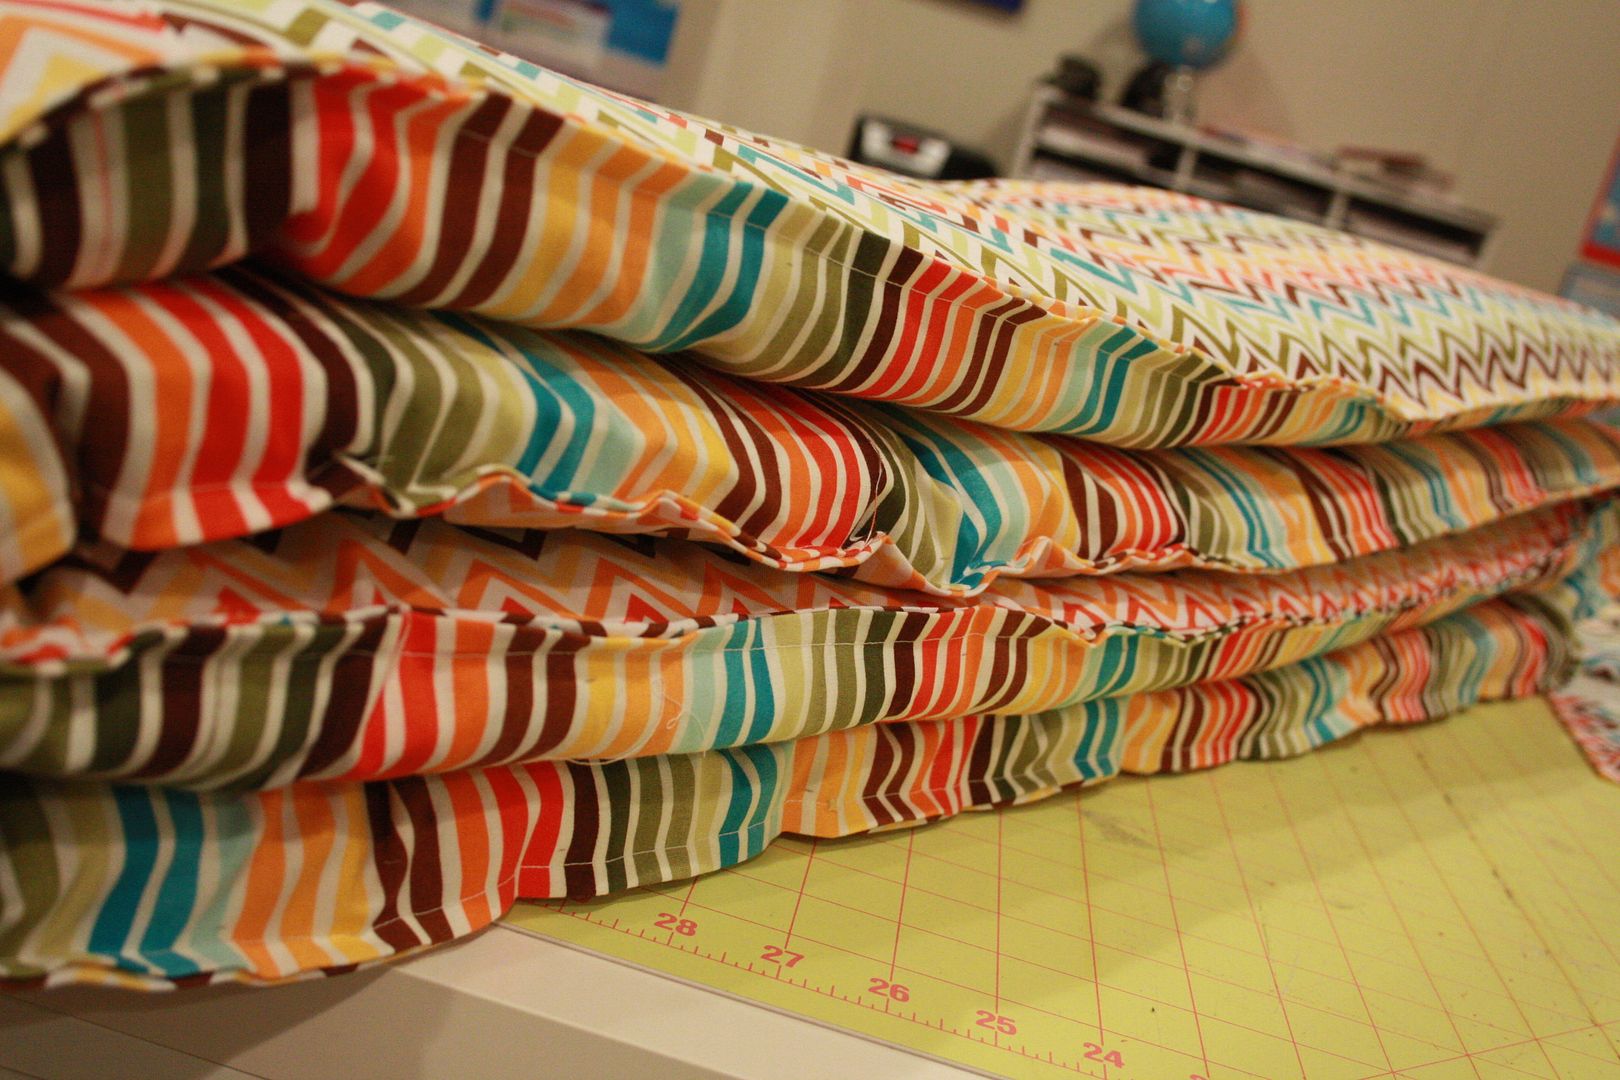
You have created a long tube at this point. Press the entire piece down well before stuffing the bumpers.
Step 14:
Stuff the bumpers into your new cover. This can take some wrestling and manhandling. It can also get twisted up, so just be patient on this step.
Step 15:
Sew up the other end. I had to use my seam ripper and take out the stitching just a bit to get the ends pressed down. It wasn't too much to rip out, but you may want to plan ahead on that step to eliminate ripping anything out.
You're almost finished. I stopped here and did the next step the next day. The only thing left to do is the ties. You can use coordinating ribbon to tie onto the crib, but I didn't have any and I am impatient. I didn't think it would take too long to just make my own. It really didn't, and I think it looks less handmade when they are fabric rather than ribbon. I also make mine the easy way without having to turn them inside out.
Step 16:
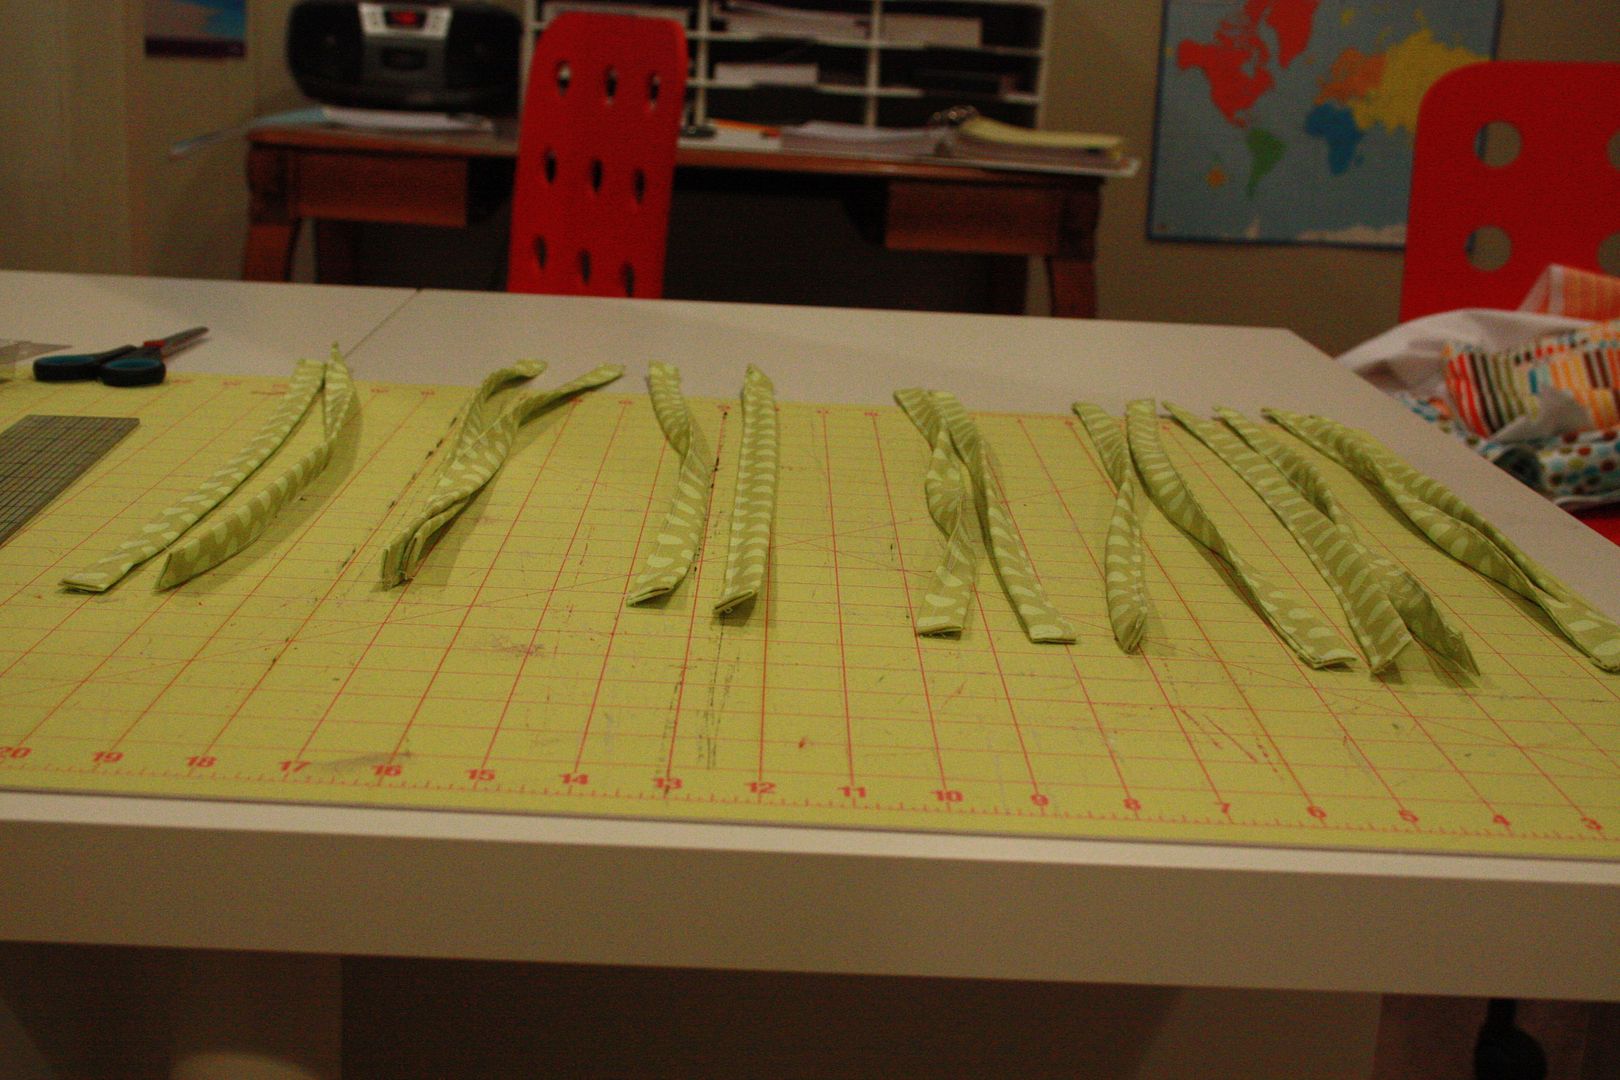
The original bumpers used fourteen ties. I made fourteen and when I went to pin them to line up with the crib, I decided I wanted many more than what the original. I didn't want any gaps. I ended up almost doubling what the original had...remember you need a tie on the top and the bottom.
Cut out strips of fabric 20 in x 2 in.
Step 17:
Iron down about a 1/2 on top and bottom and ends.
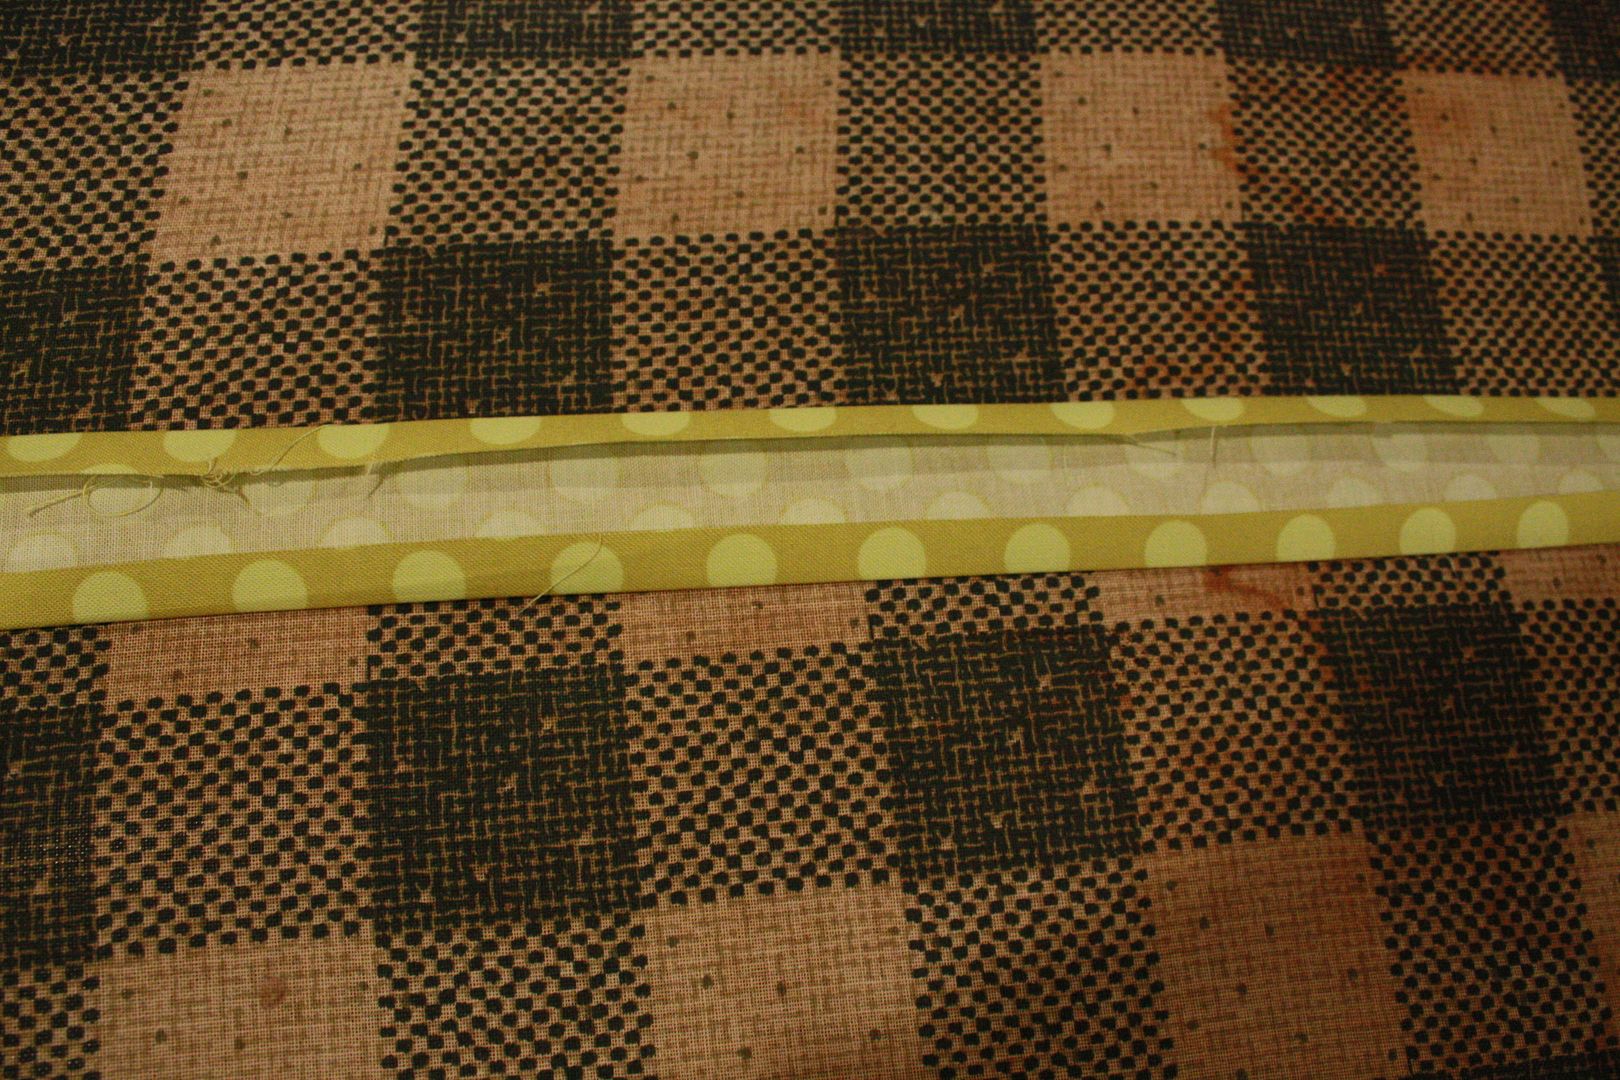
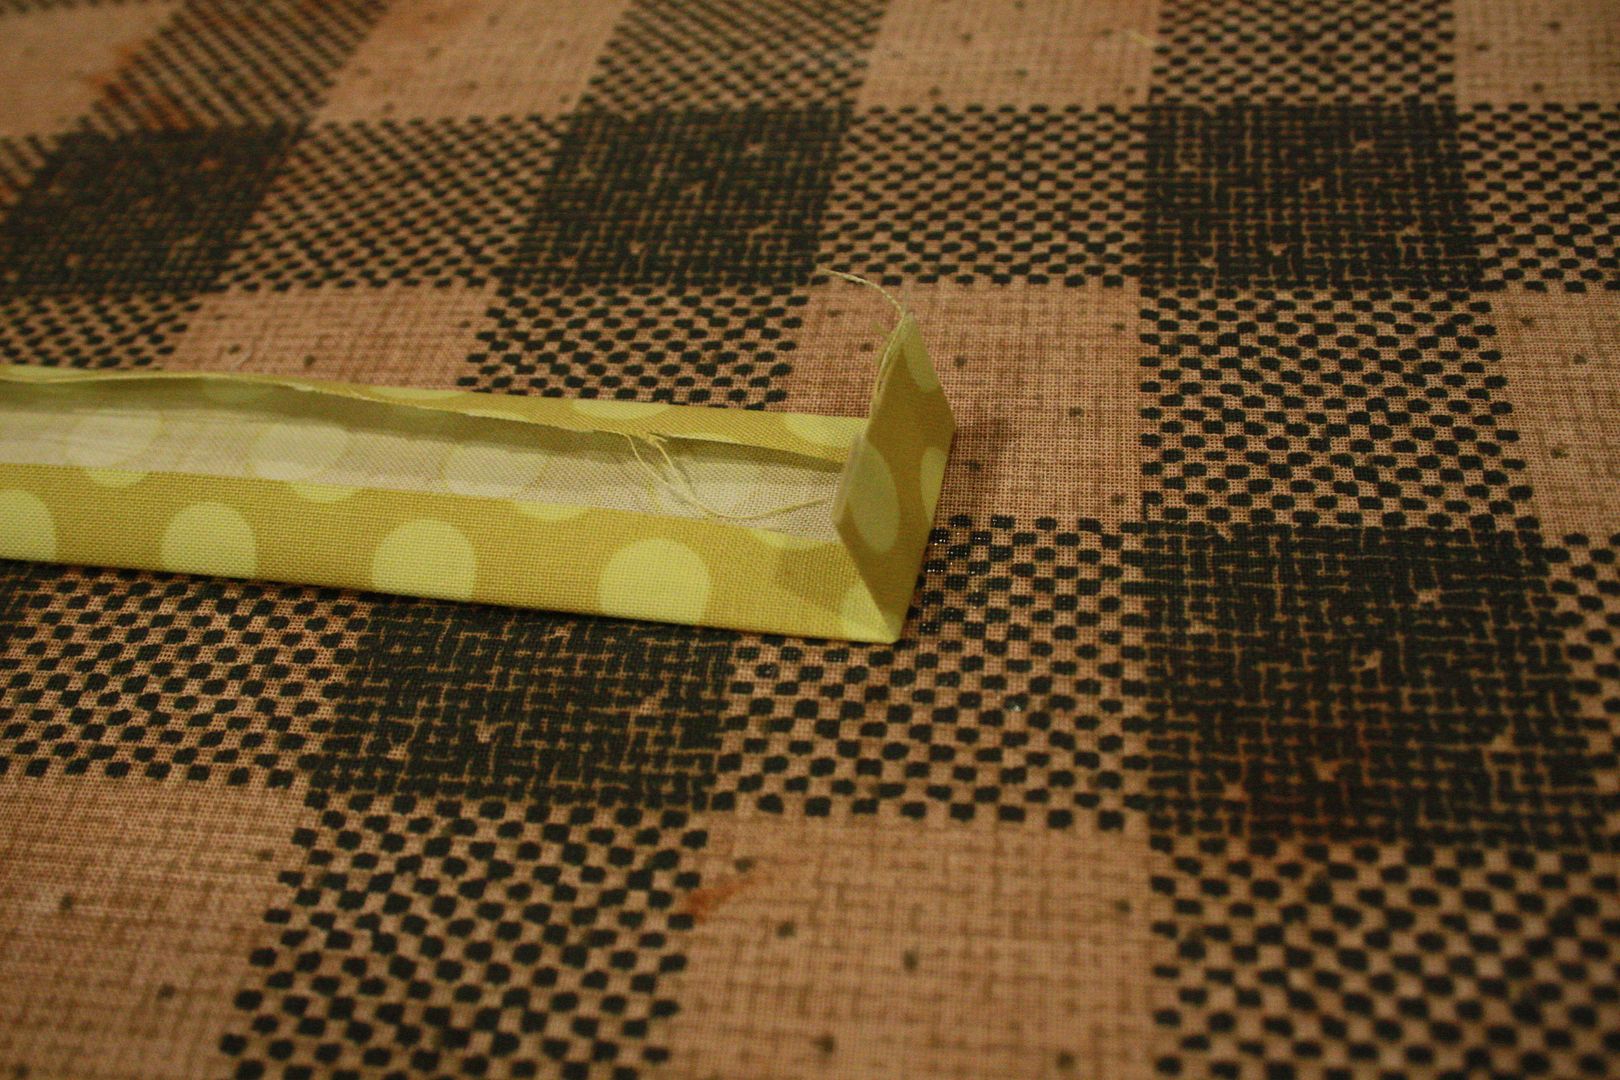
Then iron it down the middle.
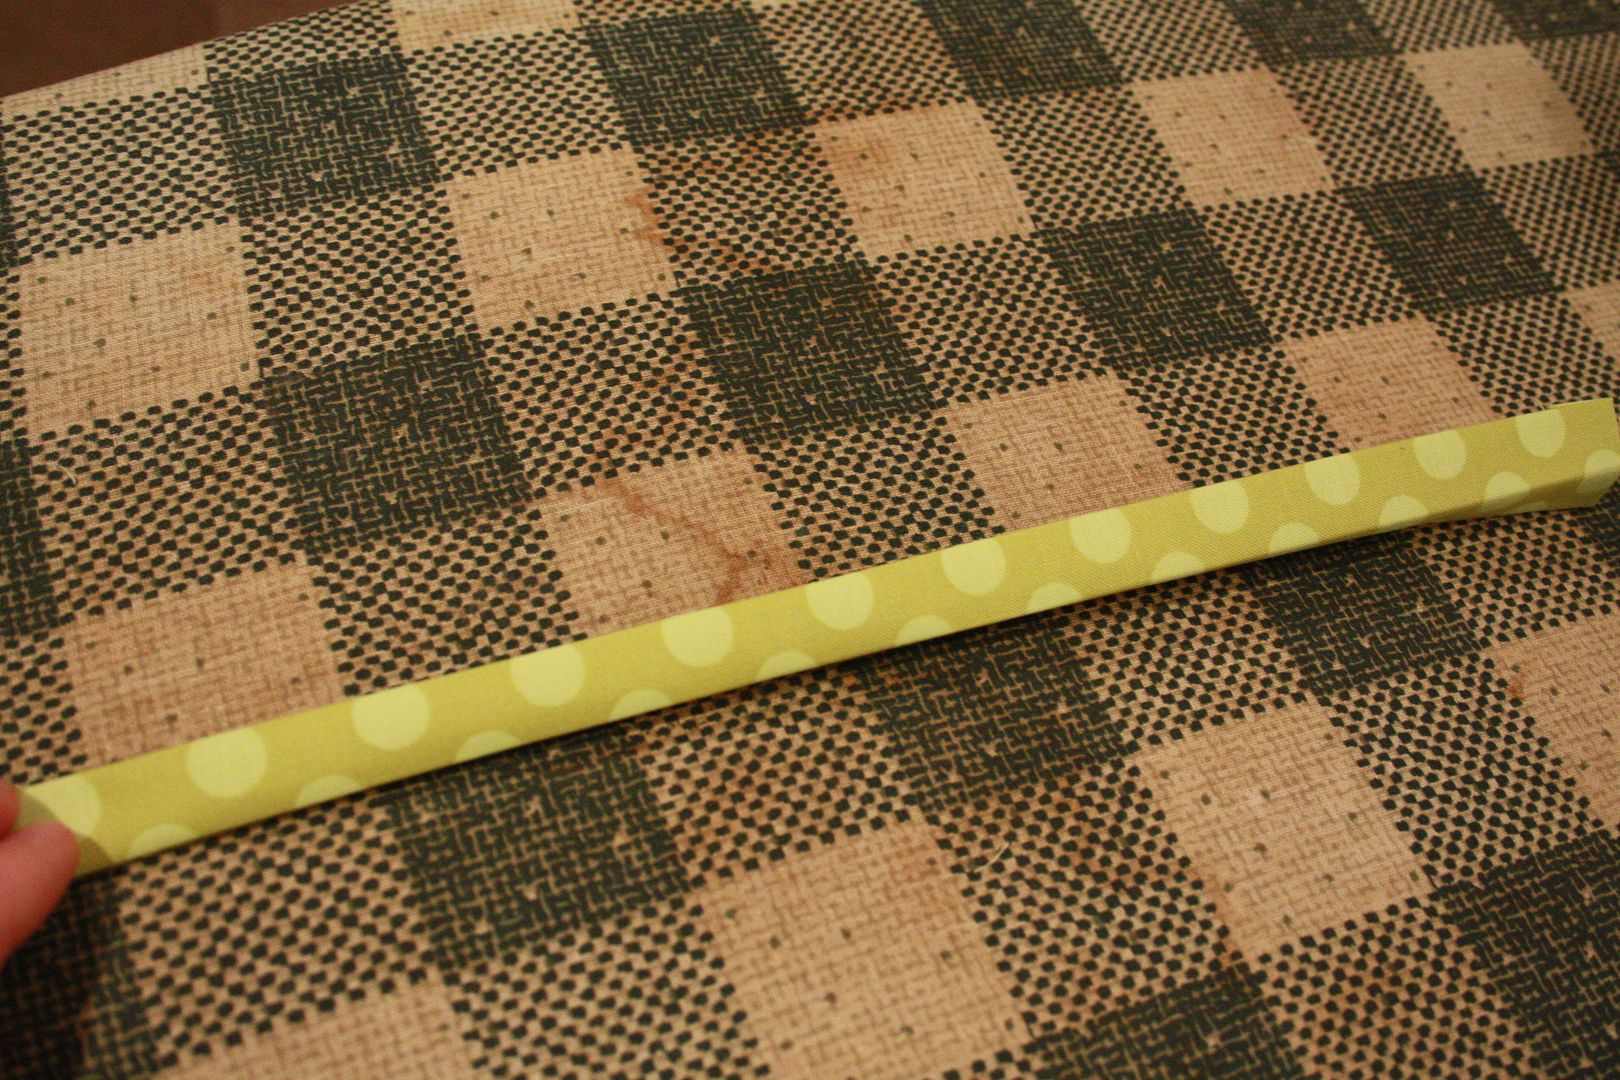
Step 18:
Sew down edges and ends.
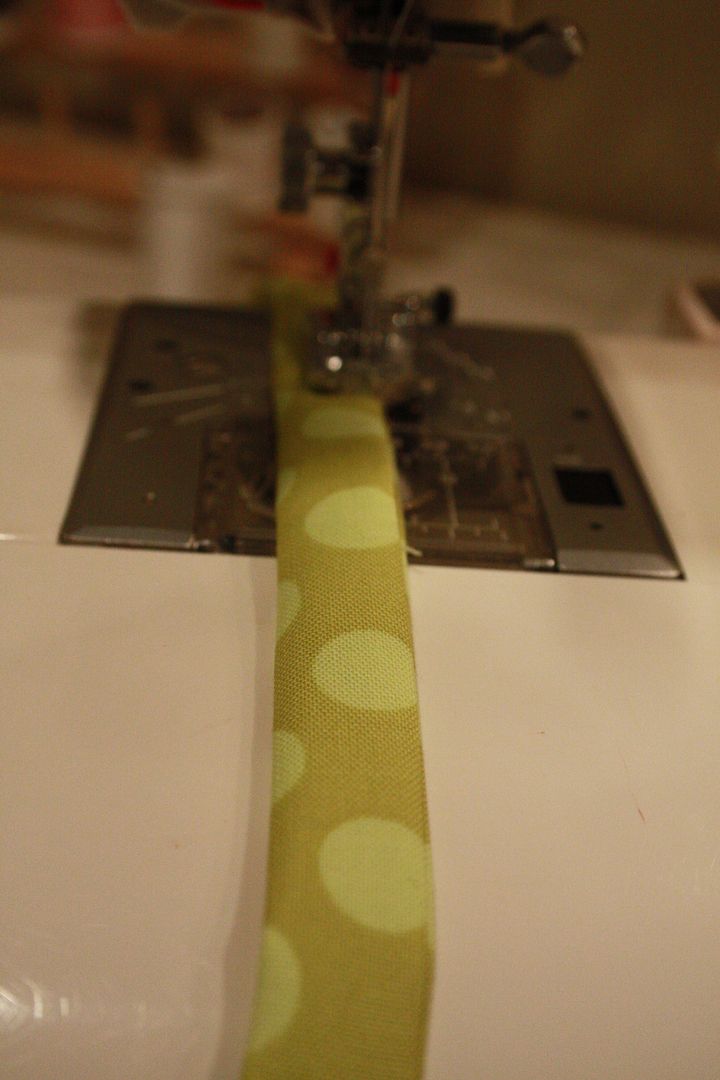
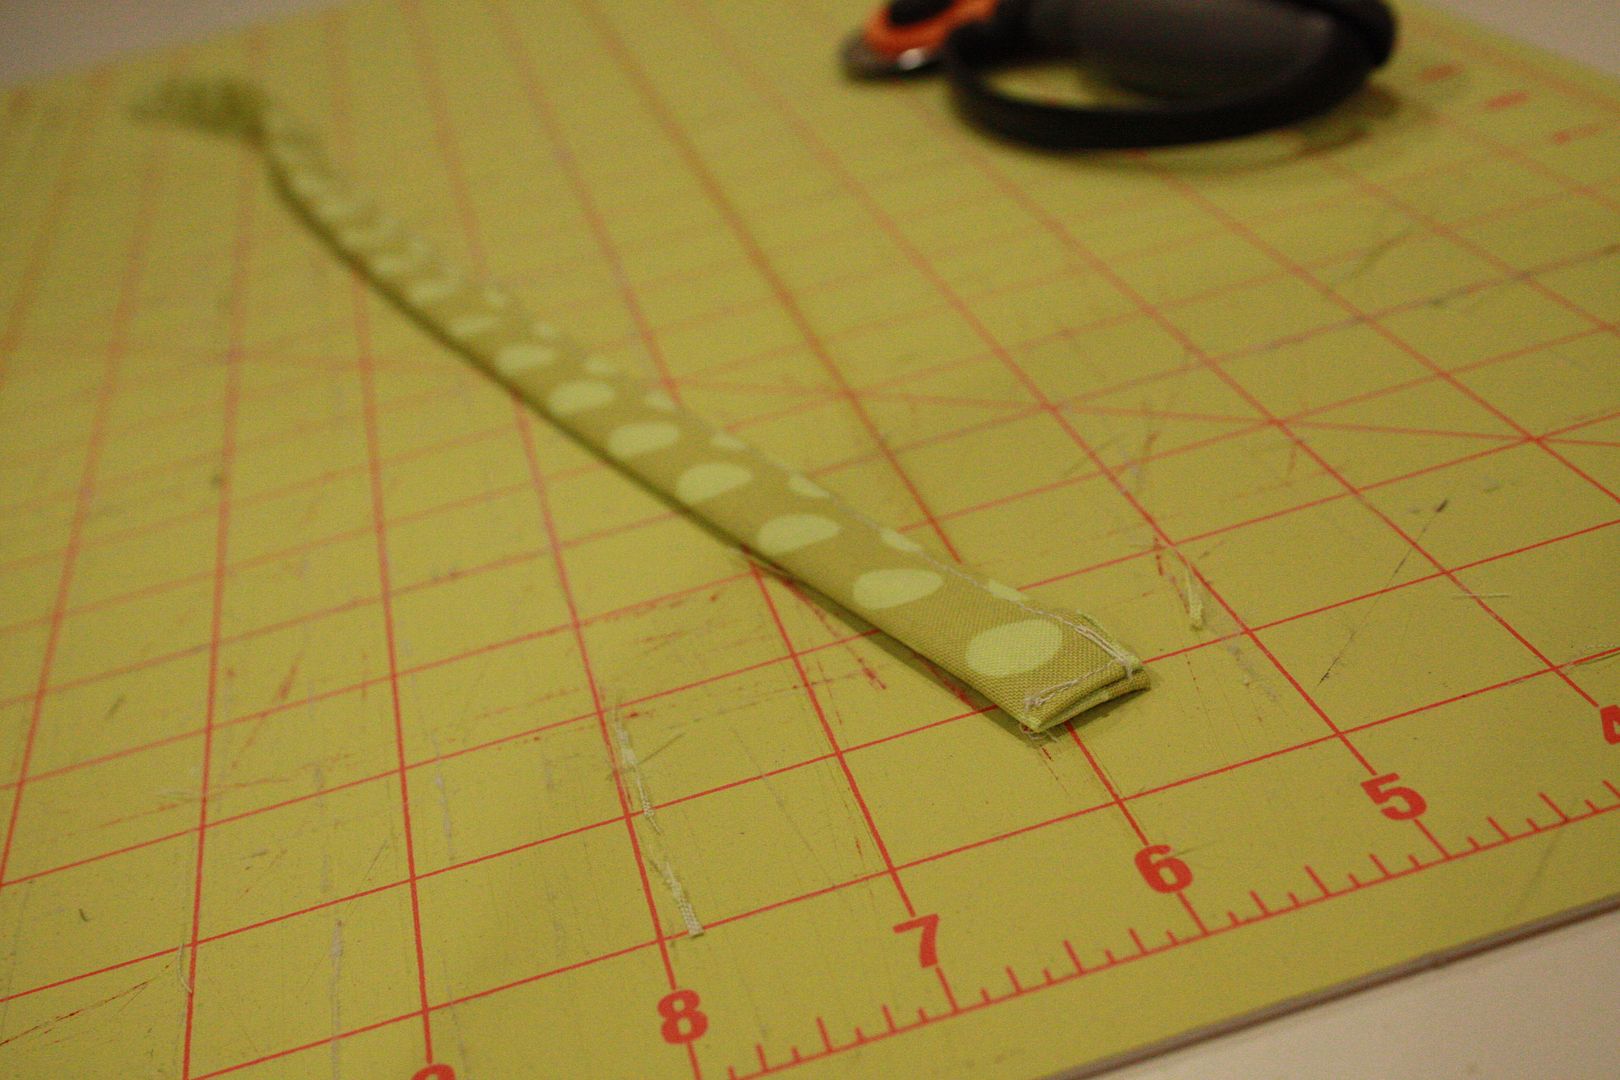
Repeat many times...
Step 19:
Put your bumper in the crib and pin where you want your ties to go. Then sew them onto the bumper. This was a little hard to fit in my sewing machine because my bumper was so plush. Just push it down and pin it so you can fit it into the machine.

Repeat many times all the way down the top and bottom of the bumper.
You're finished!


A few notes:
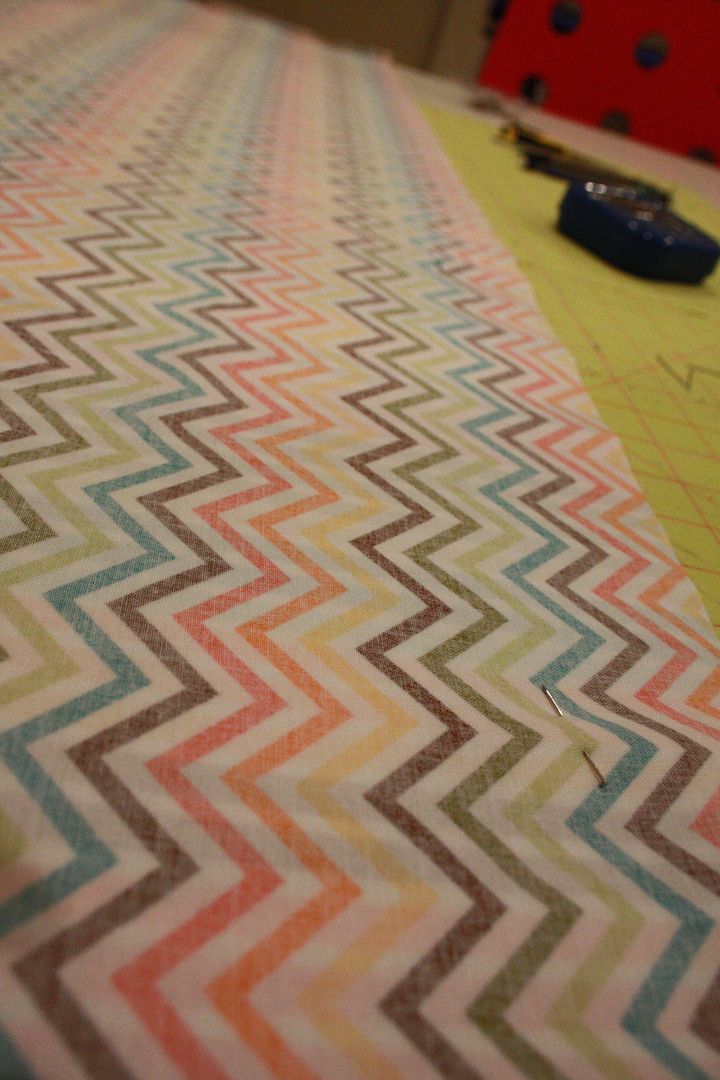
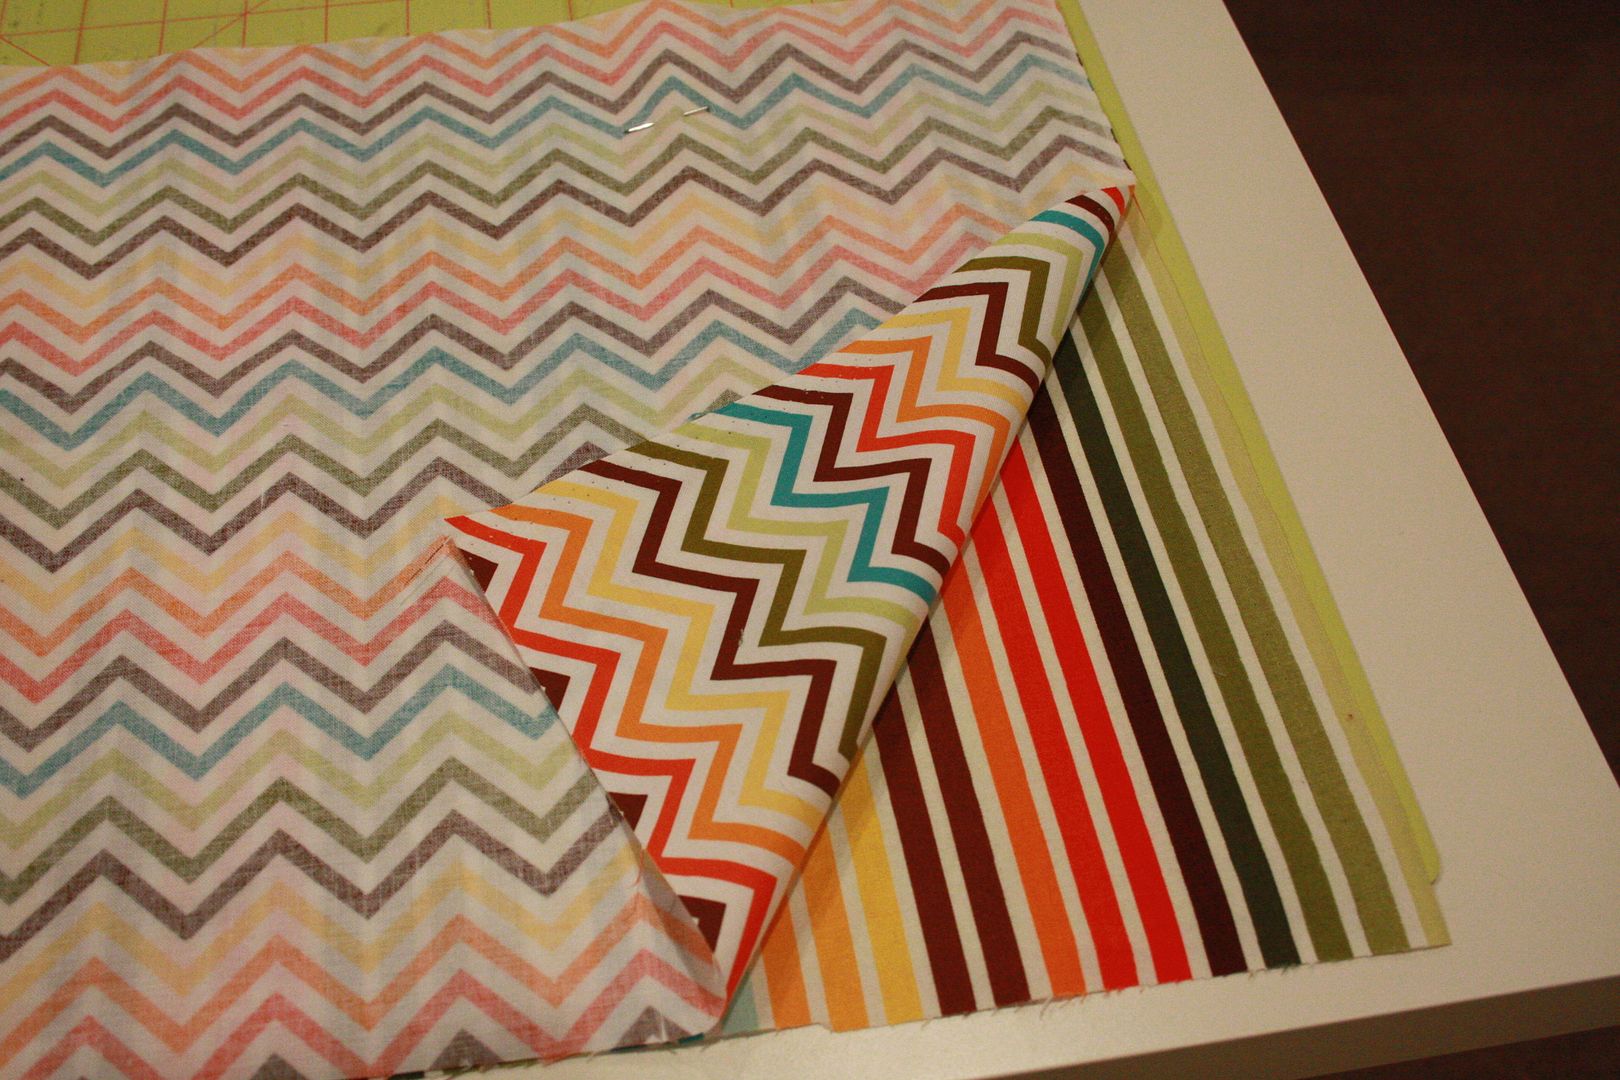
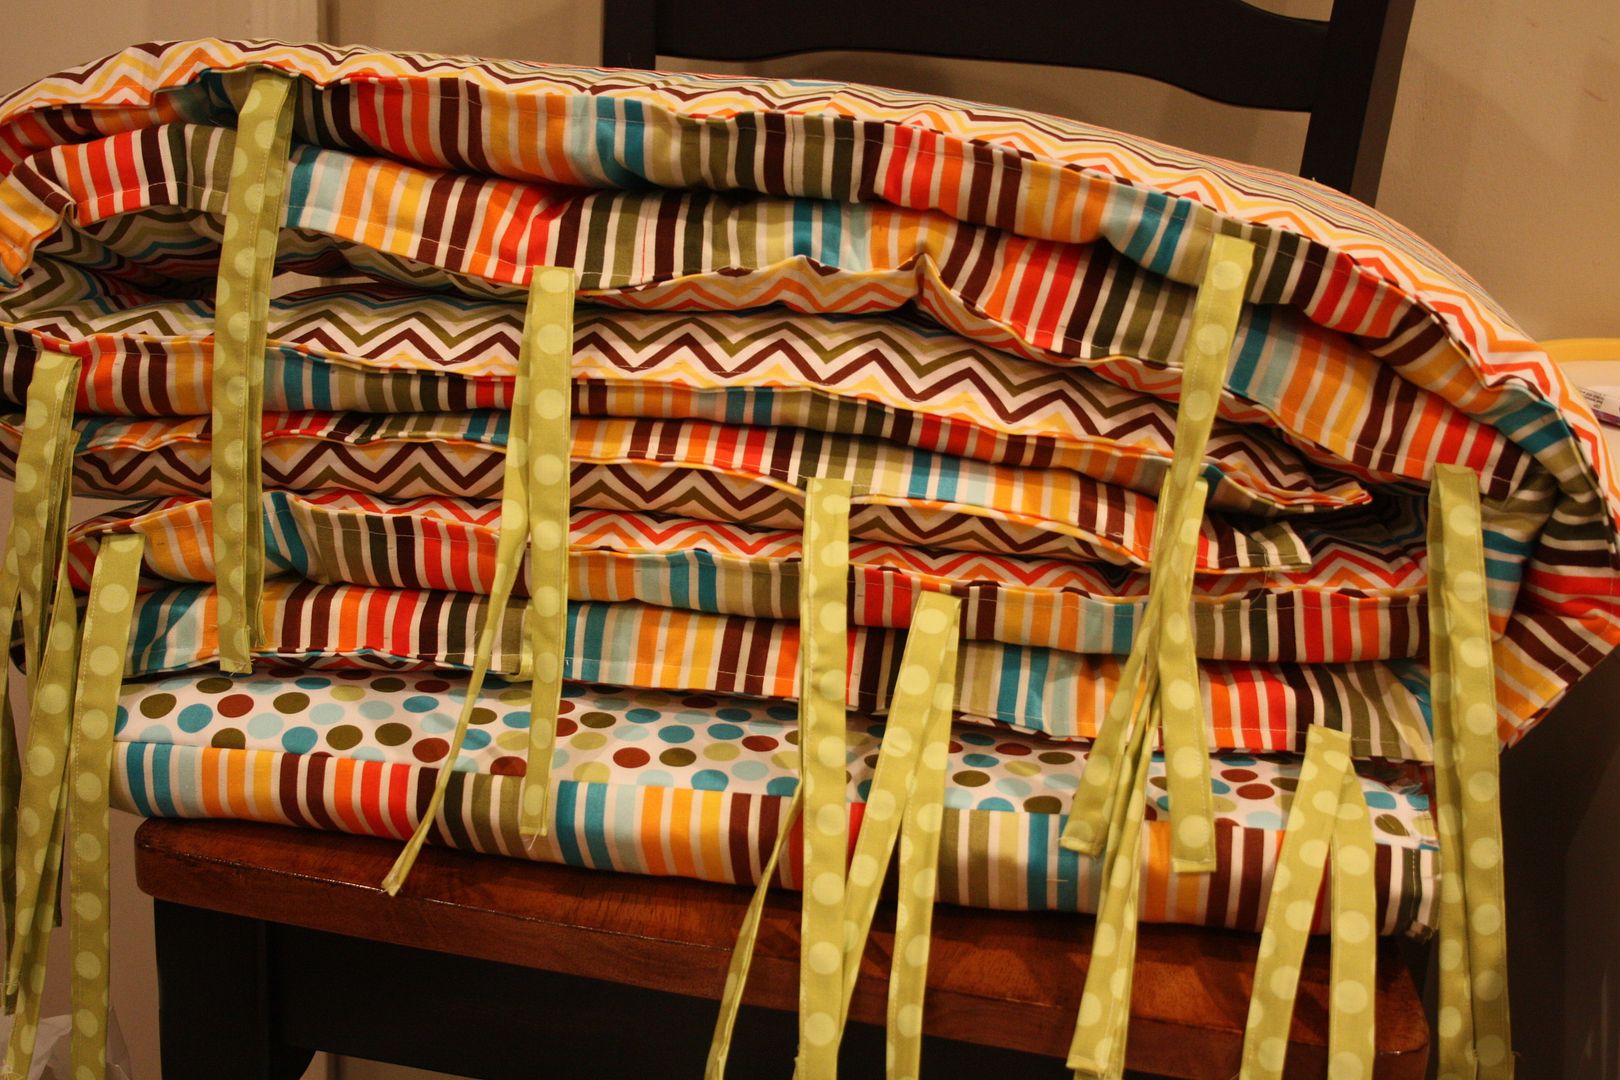
**My patterns were stripes and chevrons. The chevron was the outside pattern and I didn't worry about lining them up perfectly. I was planning on trying to line them up, but then thought I would waste a lot of material. I saw some bumpers on etsy that were a larger gray and white chevron print and she didn't line them up. I thought it looked fine so that's how I did mine. If you're a freak and it would annoy you every time you looked at it, I would try to line it up☺ The stripes weren't hard to do as long as you can cut straight. So, just consider your pattern before you make them.
**The bumpers you may have to recover might be thinner than the ones that I used. If so, you may want to sew down vertically to do the folds like this...

These are beautiful and I LOVE the colors! Thank you for sharing - this is super helpful!
ReplyDeletei have been wondering for a long time how to do this thank you so much i was to scared to just atemt it your braver then me congrats :)
ReplyDeleteTHANK YOU!! We just found out our third is a GIRL after two boys so I was wanting some new bedding! I made our current bumper with LOTS of help from my sew-savy aunt. I didn't think it was possible for me to want a new one on my own but I could totally re-do it now with new girlie fabric!! YAY!
ReplyDeleteThank you! This does help with my second set I'm about to make. My first set was plush, but in 6 pieces. I need to connect them somehow now, which I'll work out. But, this one piece design will work for my next one.
ReplyDeleteI can't find that fabric collection anywhere, but I need those exact colors for my baby boy room...can you shed light on the name of the collection or designer? rebeccapierce2001@hotmail.com
ReplyDeleteThank you so much for this post. This is exactly what I was hoping to do for my nursery. Your instructions and photographs are clear and understandable. I can't wait! Thanks again!
ReplyDeleteIs that fabric amount the actual amount?! It seems like it would not be enough. Thanks for this!
ReplyDeleteWell, I just looked back and realized that I am terrible at replying at these messages! Ha. I made these a little over two years ago, but I put down the exact amounts of fabric I used. It doesn't take as much as you think because you cut it several times to make the long strip pieced together. Good luck!! :)
DeleteAny tips on making the ends and corners a little cleaner? I am a beginning sewer and I feel like the ends don't match up as well as the lengthier sides! I'm sure it's just my inexperience, but I'm not sure how to fix it! Thanks!
ReplyDelete